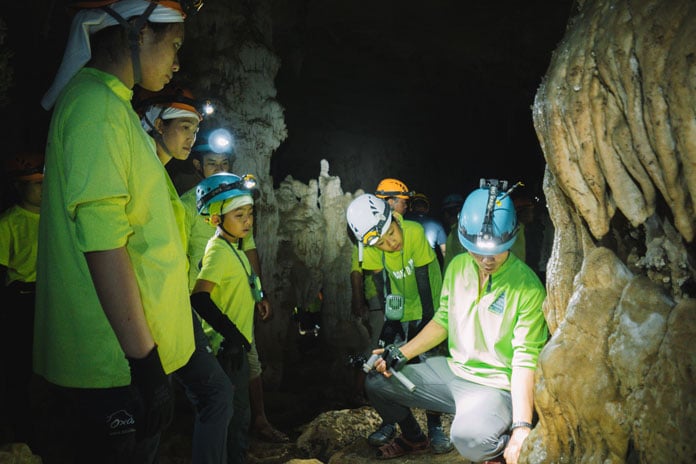

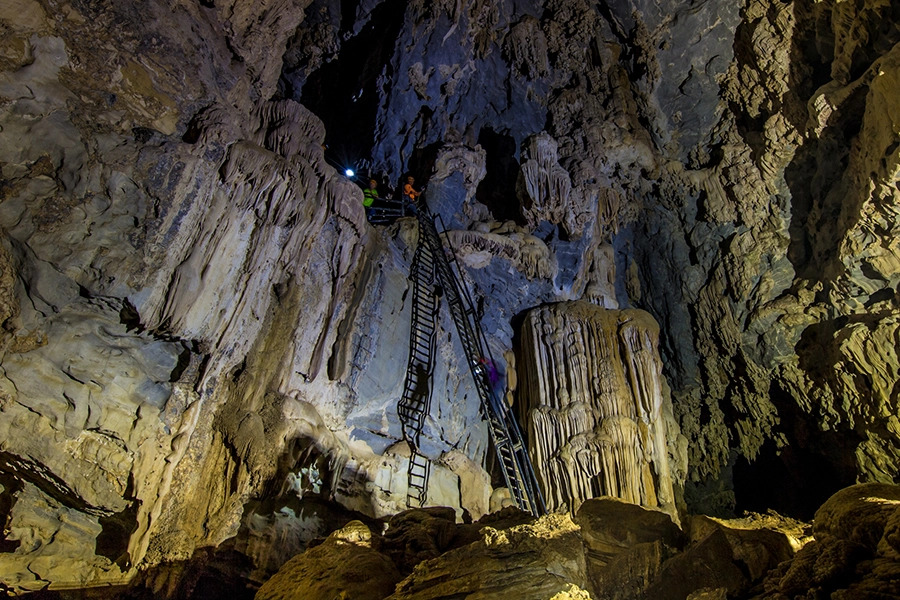
On Oxalis Adventure tours, there are plenty of thrilling technical activities that involve climbing and traversing with the use of ropes. Needless to say, life-lining forms a very crucial part throughout the process and due to Oxalis’ commitment to safety on tour; you can be rest assured that it is done in the most professional manner.
All the tour guides, safety assistants and guide assistants at Oxalis Adventure undergo thorough safety training and are highly competent with life-lining. All the training is carried out by cave experts from the British-Vietnam Cave Expedition Team.
Life-lining is a safety procedure that is done in order to protect a climber from falling or to hold a climber that has fallen. In simple terms, a lifeline is actually the rope you use for climbing during caving. There are various techniques involving lifelines and it’s highly essential for the process to be carried out properly to ensure safety throughout the climb.
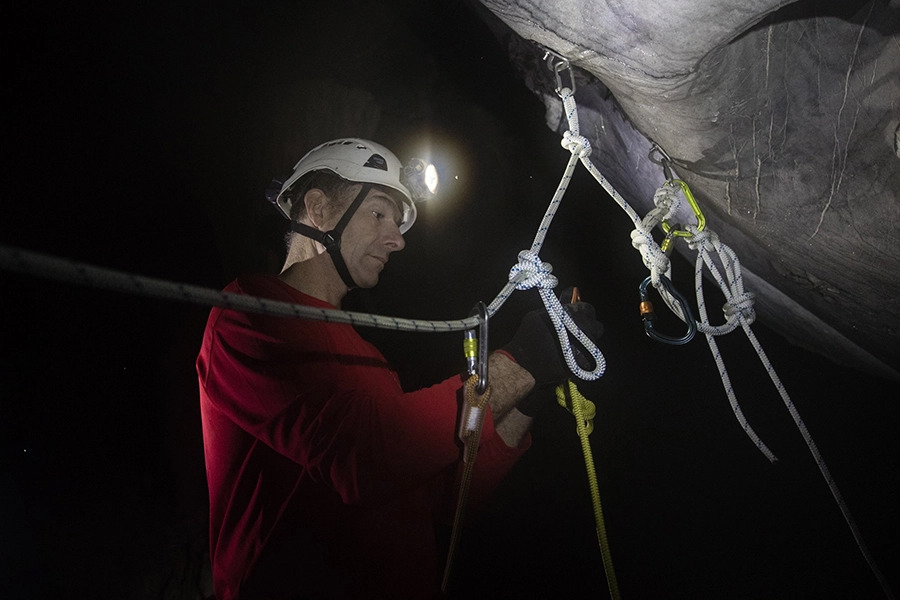
As mentioned above, a lifeline is used to protect a climber from falling or to hold a fall. It is the use of friction to hold the weight of a climber that has fallen. A lifeline will be controlled by a belayer who will use a belay device to control the lifeline.
__637081080963101847.jpg)
__637081080952865094.jpg)
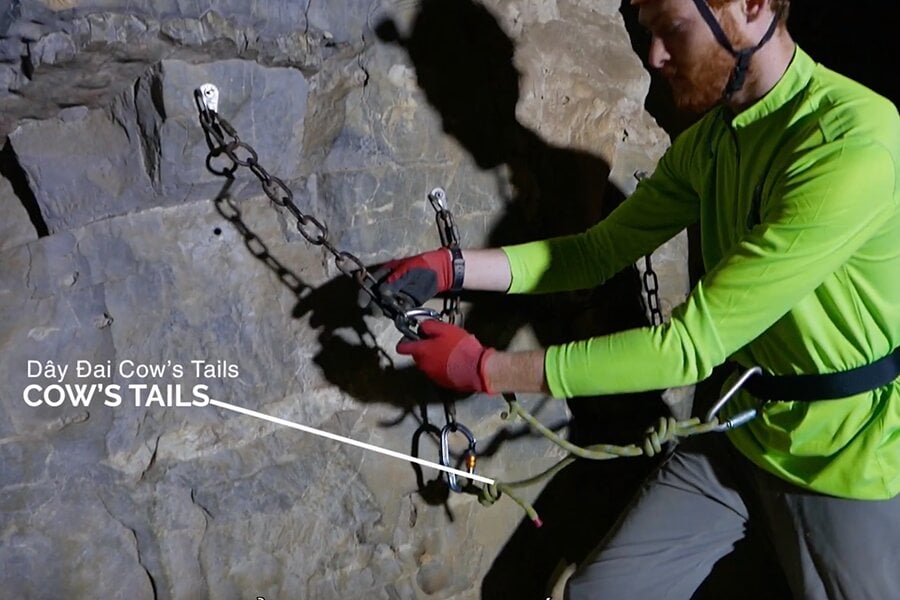
Oxalis uses an auto-locking belay device known as a RIG. It is also possible to use an Italian hitch or simple friction of a line around a tree in an emergency situation. The lifeline will be secured to the climber by a belt or harness. In an emergency a bowline can be used.
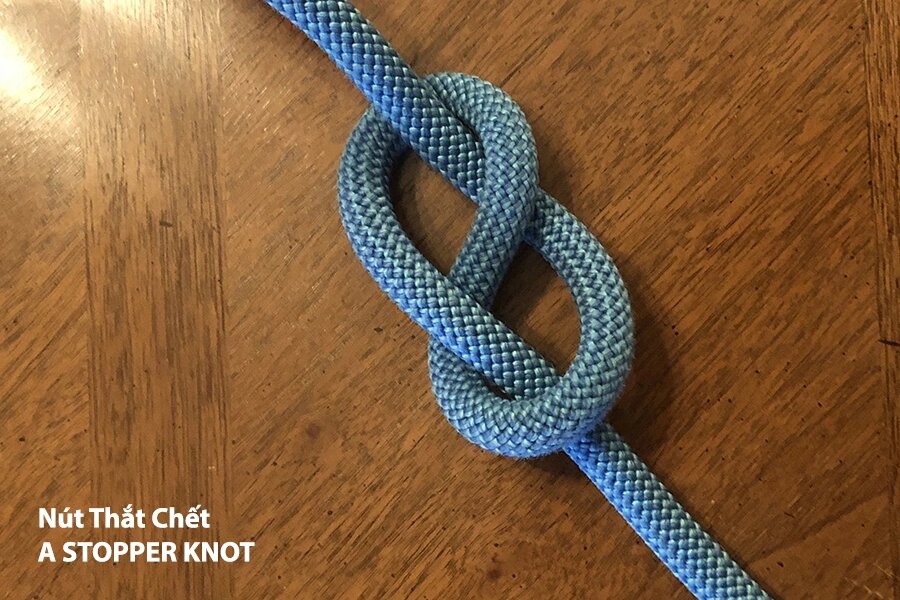
A person who is in suspension must wear a harness. Belts and bowlines are to be used to prevent a fall occurring. If a person is suspended on a belt or a bowline, they must be removed from that position quickly and safely as it is very uncomfortable and can lead to harm. Karabiners are used to connect each part of the system and the preferred standard knot will be the “figure of 8 on the bight”.
Anchors must be unquestionably sound especially if a single anchor is used. Where bolt anchors are used these must be backed up with a second anchor. The use of a share loading lanyard assists.
Always maintain a tight line, if necessary, tell the climber to slow down. It is important to be aware of the two sides:
The Golden rule is never to let go of the brake side of the lifeline or attempt to grip both parts of the line.
Whenever lowering with a RIG, an additional friction Karabiner must be used. The belayer gradually pulls on the release handle, without letting go of the brake side of the rope. The handle can assist in braking, but the descent rate is controlled by the hand gripping the brake side of the rope.
Standard words of command are used to ensure that both the climber is safely attached and the belayer is ready to lifeline.
The RIG is a deemed Personal protective equipment (PPE). It is an assisted-braking belay device designed for rock climbing. It can be used to belay a climber on a top-rope, and to lower the climber. It has an incorporated anti-panic locking function.
In the event of a fall, the cam-shaft in the RIG will automatically rotate and clamp the rope, the rope is stretched and the lock shaft in the RIG will hold the rope firmly, creating a braking force, preventing the rope from slipping. By holding the brake side of rope tightly, the controller can support the lock shaft inside with extra force, so holding the brake side of rope is also very important
The RIG has an anti-panic handle. If the belayer pulls too hard on the handle, the anti-panic mechanism triggers. By holding the brake side of the rope, the brake hand helps engage the cam to stop the descent. To continue the descent, release the handle completely, and resume lowering normally.
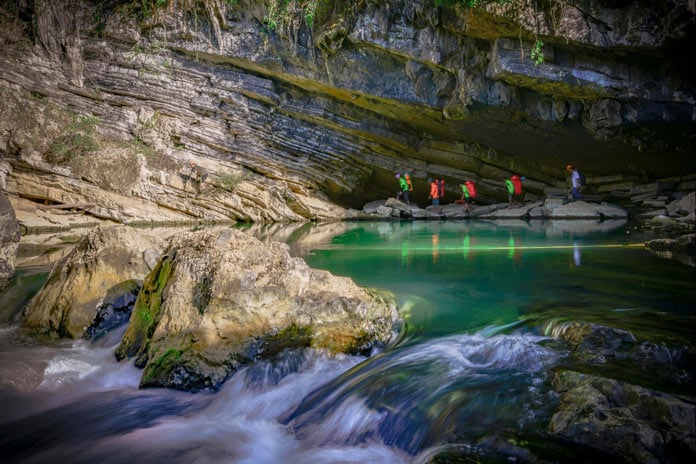
You will find life-lining practiced on the following jungle and cave tours of Oxalis:
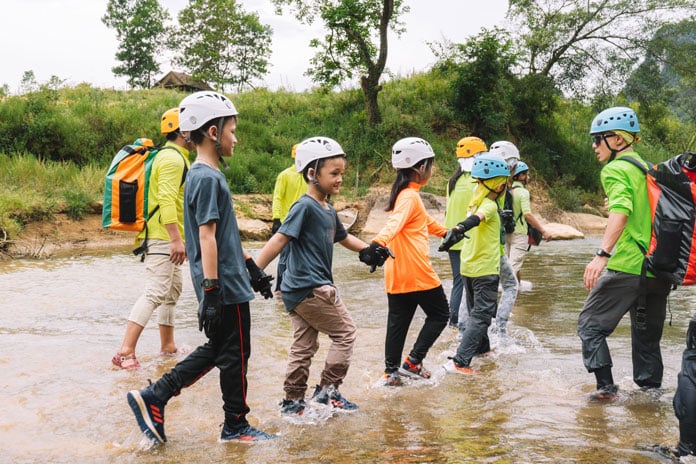
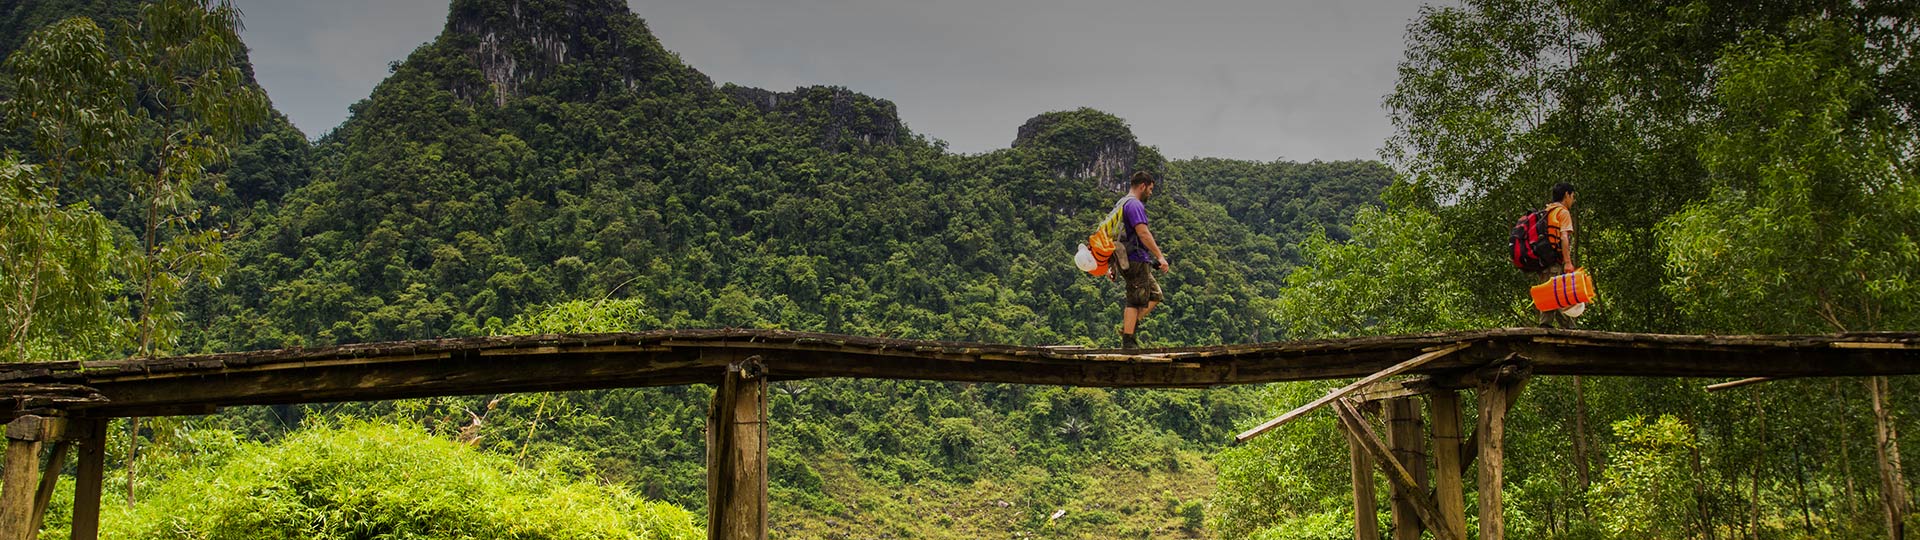
Whether you prefer long treks, camping in a cave, sleeping under the stars in the jungle, swimming underground in river caves, explore the huge dry caves or just taking an exploratory day trip, Oxalis Adventure Tours can provide the right amount of adventure just for you.
__637051765075307793.jpg)

__637051782550081035.jpg)

__637051777074859032.jpg)
__637051780703588520.jpg)
__637051781488596056.jpg)

__637051767008903435.jpg)
__637051774329206026.jpg)

__637740499994967442.jpg)